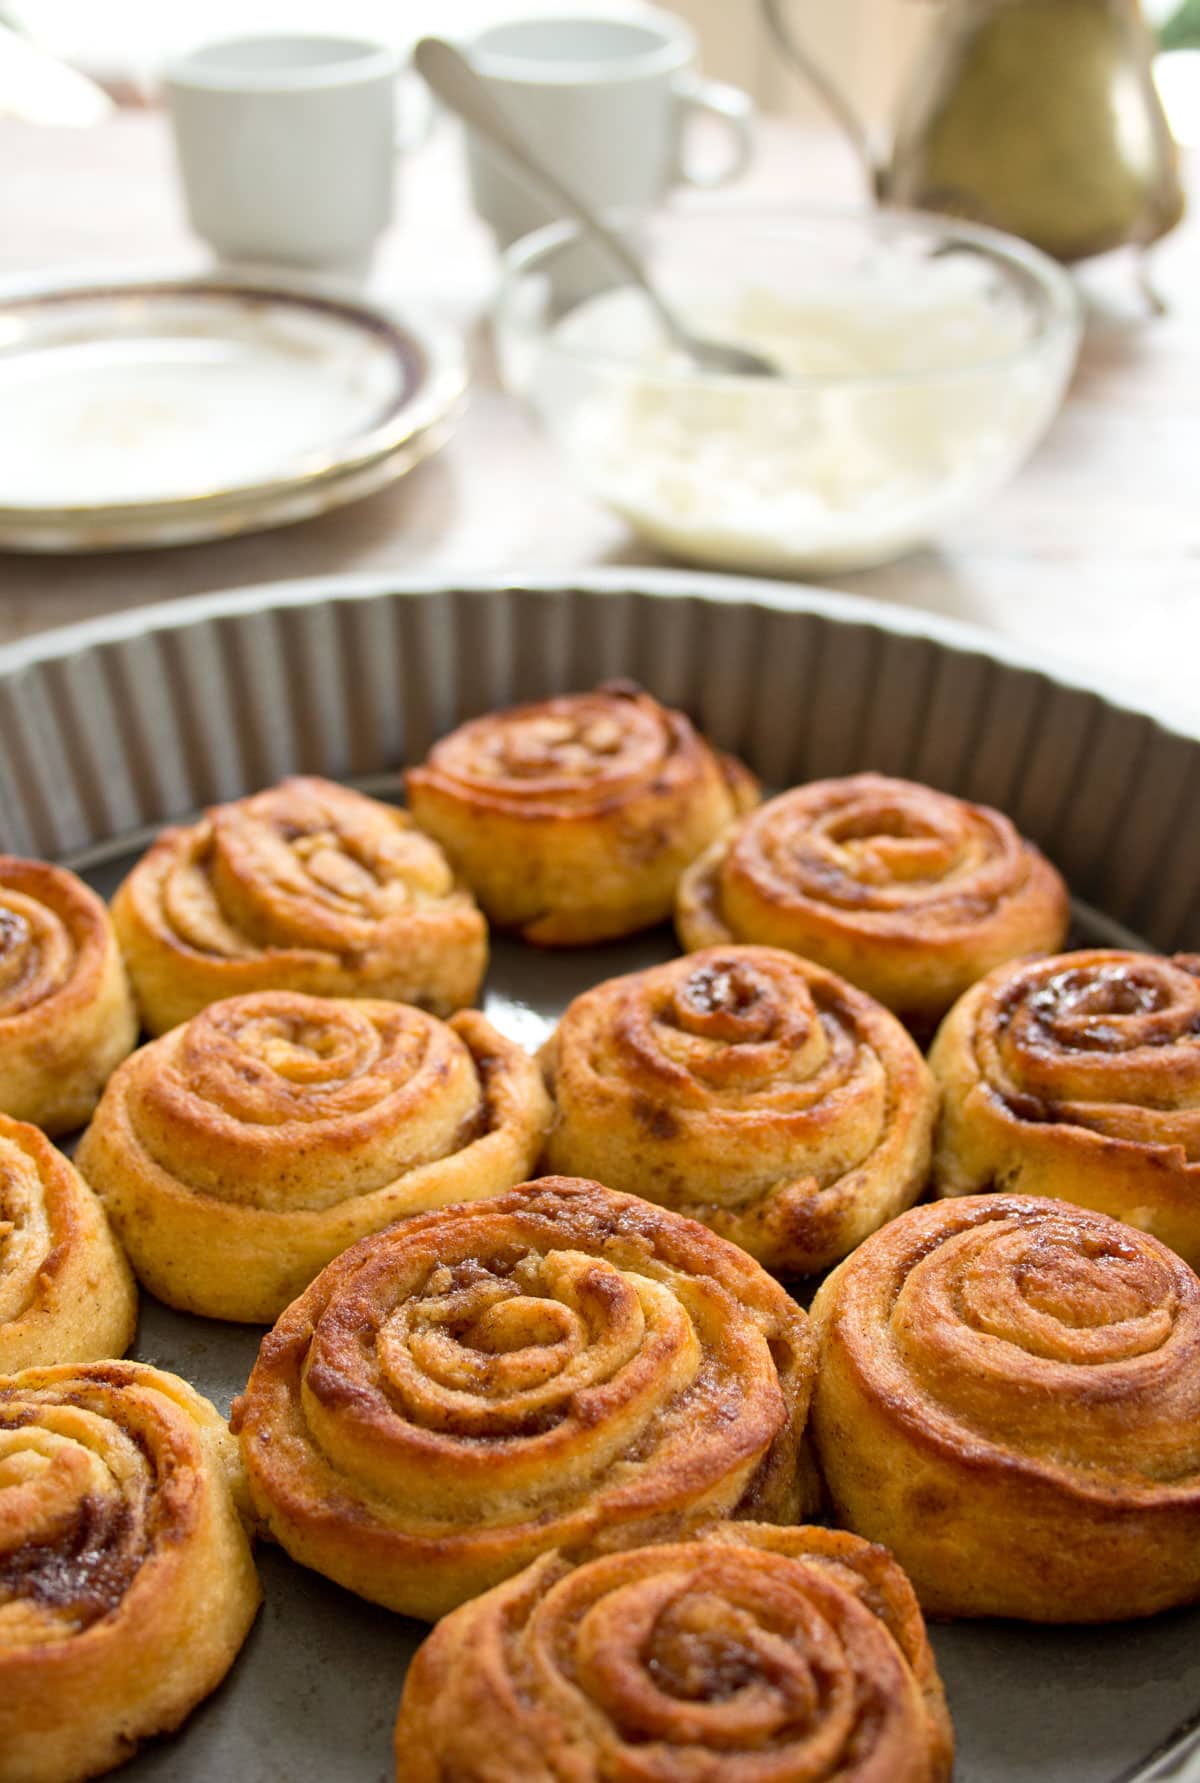
There is nothing quite like the aroma of freshly baked Gluten Free Cinnamon Rolls filling the kitchen. Soft, fluffy dough wrapped around a rich cinnamon sugar filling and finished with smooth vanilla bean cream cheese icing creates a bakery-style treat that everyone loves.
While many gluten-free cinnamon rolls can be dense or crumbly, this recipe delivers a light, pillowy texture that closely resembles traditional homemade cinnamon rolls. Whether you’re preparing them for breakfast, brunch, holiday mornings, or a weekend baking project, these rolls offer all the classic flavor and comfort without compromising on texture. They are warm, gooey, and perfectly sweet, making them a favorite for both gluten-free and non-gluten-free eaters alike.
Why You Love This Recipe
These homemade Gluten Free Cinnamon Rolls are designed to deliver everything people expect from a classic cinnamon roll. The dough rises beautifully, the cinnamon filling melts into every layer, and the vanilla bean cream cheese icing creates a rich finishing touch.
Unlike many gluten-free recipes that require several specialty flours, this recipe relies on a single gluten-free bread mix, making it much simpler and more convenient to prepare. The finished rolls remain soft and tender while offering the familiar pull-apart texture found in traditional bakery cinnamon rolls. They are perfect for family breakfasts, festive celebrations, or simply enjoying with a cup of coffee or tea.
What Makes These Cinnamon Rolls Different
Many people believe gluten-free baking cannot match the texture of traditional yeast breads, but these cinnamon rolls prove otherwise. The dough is soft, stretchy, and surprisingly easy to shape despite being naturally sticky. Once baked, the rolls develop a delicate, fluffy crumb without becoming dry, crumbly, or gummy. The combination of cinnamon, brown sugar, butter, and vanilla cream cheese icing creates a comforting flavor that closely resembles classic homemade cinnamon rolls. This recipe focuses on simplicity while producing results that look and taste like they came from a professional bakery.
Why This Recipe Works So Well
One of the biggest advantages of this recipe is its balanced approach to gluten-free baking. Instead of requiring several different specialty flours, the recipe uses one gluten-free bread mix along with carefully measured ingredients that work together to create a stable dough.
Baking powder and baking soda support the yeast, helping the rolls rise well while maintaining a soft texture. Apple cider vinegar also contributes to the dough’s overall structure, resulting in cinnamon rolls that stay light, fluffy, and moist after baking. Every ingredient serves an important purpose, creating dependable results for both experienced bakers and beginners.
The Secret to Soft and Fluffy Gluten Free Cinnamon Rolls
The texture of these cinnamon rolls comes from combining proper mixing, careful handling, and adequate rising time. The dough itself is intentionally softer and stickier than traditional wheat dough because gluten-free flour absorbs moisture differently. Mixing the dough thoroughly with a stand mixer develops a smooth consistency that becomes easier to handle after a short resting period.
During baking, the butter melts between the layers while the yeast creates air pockets throughout the dough, producing soft rolls with a tender crumb and beautifully risen appearance.
Choosing the Right Gluten-Free Bread Mix
Using a quality gluten-free bread mix is one of the most important factors in this recipe. A balanced bread mix contains ingredients designed specifically for yeast baking, allowing the dough to develop enough structure while remaining light and flexible.
Because the recipe has been developed around a single bread mix, it eliminates the need to purchase multiple specialty flours that may never be used again. This makes the recipe more practical, economical, and approachable for home bakers while still producing excellent bakery-style results.
Why Yeast Is Essential
Instant yeast is responsible for creating the light, airy texture that makes homemade cinnamon rolls so enjoyable. When combined with warm liquid, the yeast becomes active and begins producing tiny air pockets throughout the dough.
These pockets expand during the rising and baking process, creating soft layers that pull apart easily. Using water that is warm rather than hot is extremely important because excessive heat can damage the yeast and reduce its ability to help the dough rise properly. Taking care during this step ensures beautifully fluffy cinnamon rolls with an excellent texture.
The Importance of Proper Mixing
Because gluten-free dough behaves differently from traditional wheat dough, mixing thoroughly is essential. A stand mixer fitted with a dough hook makes this process much easier, allowing the ingredients to combine into a smooth and slightly stretchy dough.
The recommended mixing time helps distribute moisture evenly while improving the consistency of the dough. After mixing, allowing the dough to rest briefly gives the gluten-free flour time to absorb the liquid fully. This resting period makes the dough easier to roll out while improving its final texture after baking.
Why Cornstarch Makes Rolling the Dough Easier
One of the unique techniques in this recipe is using cornstarch instead of additional flour when rolling the dough. Since gluten-free dough is naturally softer and stickier than traditional bread dough, adding too much flour can make the finished cinnamon rolls dry.
A generous layer of cornstarch on the work surface and over the dough prevents sticking while allowing the dough to remain soft and easy to handle. Cornstarch absorbs excess surface moisture without changing the texture of the dough, making it much easier to press or roll into a neat rectangle. This simple method helps produce tender cinnamon rolls while avoiding the dryness that often occurs in gluten-free baking.
Creating the Perfect Cinnamon Sugar Filling
The filling is what gives these Gluten Free Cinnamon Rolls their irresistible flavor and gooey center. Soft butter spreads easily across the dough, creating the perfect base for the brown sugar and cinnamon mixture. Using butter that is very soft, rather than fully melted, allows it to spread smoothly without tearing the delicate dough.
Once the brown sugar is evenly distributed, the cinnamon is sprinkled generously over the surface, ensuring every layer is filled with warm, sweet spice. As the rolls bake, the butter and sugar melt together, creating a rich caramel-like filling that makes every bite incredibly satisfying.
Rolling and Cutting the Dough
After the filling has been evenly spread, the dough should be rolled tightly into a log to create beautiful spiral layers. Rolling firmly without pressing too hard helps maintain an even shape while keeping the filling inside each layer.
Because gluten-free dough is softer than traditional dough, using unflavored dental floss to slice the rolls is highly recommended. Sliding the floss underneath the log and crossing it over the top creates clean cuts without flattening the rolls. This method preserves their round shape and allows them to rise evenly during proofing and baking.
Why Proper Spacing Is Important
The arrangement of the cinnamon rolls inside the baking dish plays an important role in achieving the perfect texture. Leaving approximately one inch of space between each roll allows them enough room to expand during the rising process while still baking close enough together to remain soft around the edges.
As they rise and bake, the rolls gently touch each other, creating the classic pull-apart texture that homemade cinnamon rolls are known for. Whether using a cast-iron skillet or another baking dish, maintaining proper spacing helps ensure even baking and a beautiful finished appearance.
The Importance of a Warm Rising Environment
Gluten-free dough often benefits from a warm environment during the rising stage because it encourages the yeast to become fully active. A simple method is to briefly preheat the oven to its lowest temperature, switch it off, and then place the covered rolls inside.
The gentle warmth helps the dough expand steadily without becoming too hot. During this resting period, the rolls become noticeably larger and lighter, creating the soft texture that makes homemade cinnamon rolls so enjoyable. Allowing enough time for this rise is one of the most important steps in achieving fluffy bakery-style results.
Baking Until Soft and Golden
Once the cinnamon rolls have doubled in size, they are ready for baking. During baking, the dough continues to rise while the cinnamon sugar filling melts into every layer. The tops gradually become golden brown, while the inside remains soft and tender. Proper baking time is essential because underbaked rolls may remain doughy in the center, while overbaking can reduce their softness.
The finished rolls should spring back gently when touched and display an even golden color across the top. At this stage, the kitchen will be filled with the comforting aroma of cinnamon, butter, and freshly baked bread, making it difficult to wait before serving.
Vanilla Bean Cream Cheese Icing
The icing is the finishing touch that transforms these Gluten Free Cinnamon Rolls into a truly bakery-style treat. A smooth blend of butter, cream cheese, powdered sugar, and vanilla bean paste creates a rich, creamy topping that melts gently over the warm rolls. As the icing softens, it seeps into every swirl of cinnamon sugar, adding sweetness and a luxurious texture to every bite.
Vanilla bean paste gives the icing a deeper, more authentic vanilla flavor, although vanilla extract works equally well if that’s what you have available. Applying the icing while the rolls are still warm allows it to spread effortlessly across the surface, creating the classic gooey finish everyone loves.
Serving Suggestions
Freshly baked Gluten Free Cinnamon Rolls are delicious enough to enjoy on their own, but they also pair beautifully with a variety of breakfast and brunch favorites. Serve them alongside freshly brewed coffee, hot chocolate, tea, or a glass of cold milk for a comforting morning meal. They also complement fresh fruit, yogurt, scrambled eggs, or breakfast casseroles, creating a complete brunch spread. During holidays such as Christmas, Easter, or family celebrations, these cinnamon rolls become an impressive centerpiece that everyone looks forward to. Their soft texture and rich cinnamon aroma make them suitable for special occasions as well as everyday baking.
Notes
Use a Stand Mixer for the Best Dough
This dough is much softer and stickier than traditional bread dough, making a stand mixer with a dough hook highly recommended. Mixing for the full recommended time develops a smoother dough that is easier to handle after resting. Attempting to mix by hand can be difficult and may not produce the same consistent texture.
Dust Generously with Cornstarch
Cornstarch is one of the keys to successfully handling gluten-free dough. Dust the work surface, rolling pin, and top of the dough generously before rolling it out. This prevents sticking without drying the dough, allowing you to shape beautiful cinnamon rolls with ease.
Make Sure the Butter Is Very Soft
For the filling, the butter should be extremely soft so it spreads easily across the delicate dough. If the butter is too firm, it can tear the dough and make rolling more difficult. Soft, spreadable butter creates an even layer that allows the cinnamon sugar filling to distribute perfectly throughout every roll.
Cut the Rolls with Flavorless Dental Floss
Using plain, unflavored dental floss instead of a knife produces cleaner, more even slices. The floss cuts through the soft dough without pressing or flattening it, helping each cinnamon roll maintain its round shape before baking. This simple technique also creates more attractive spirals after the rolls have risen.
Allow Enough Time for the Dough to Rise
Patience during the rising stage is essential for achieving soft, fluffy cinnamon rolls. Placing the dough in a warm environment encourages the yeast to work effectively, producing light rolls with excellent texture. Avoid rushing this step because properly risen dough creates a noticeably softer and more tender finished product.
Overnight Preparation Option
If you want freshly baked cinnamon rolls in the morning without doing all the work at breakfast time, prepare the rolls the day before. After the rolls have completed their first rise, cover the baking dish and refrigerate overnight. The following day, allow the rolls to return to room temperature before baking according to the recipe instructions. This make-ahead method is especially convenient for holiday mornings and family gatherings.
Storage Instructions
Store leftover Gluten Free Cinnamon Rolls in an airtight container in the refrigerator for several days to maintain freshness. Before serving, warm individual rolls gently in the microwave or oven to restore their soft texture and melt the cream cheese icing slightly. These cinnamon rolls also freeze well. Wrap each roll individually or place them in a freezer-safe container for longer storage. When ready to enjoy, thaw overnight in the refrigerator and warm before serving for the best flavor and texture.
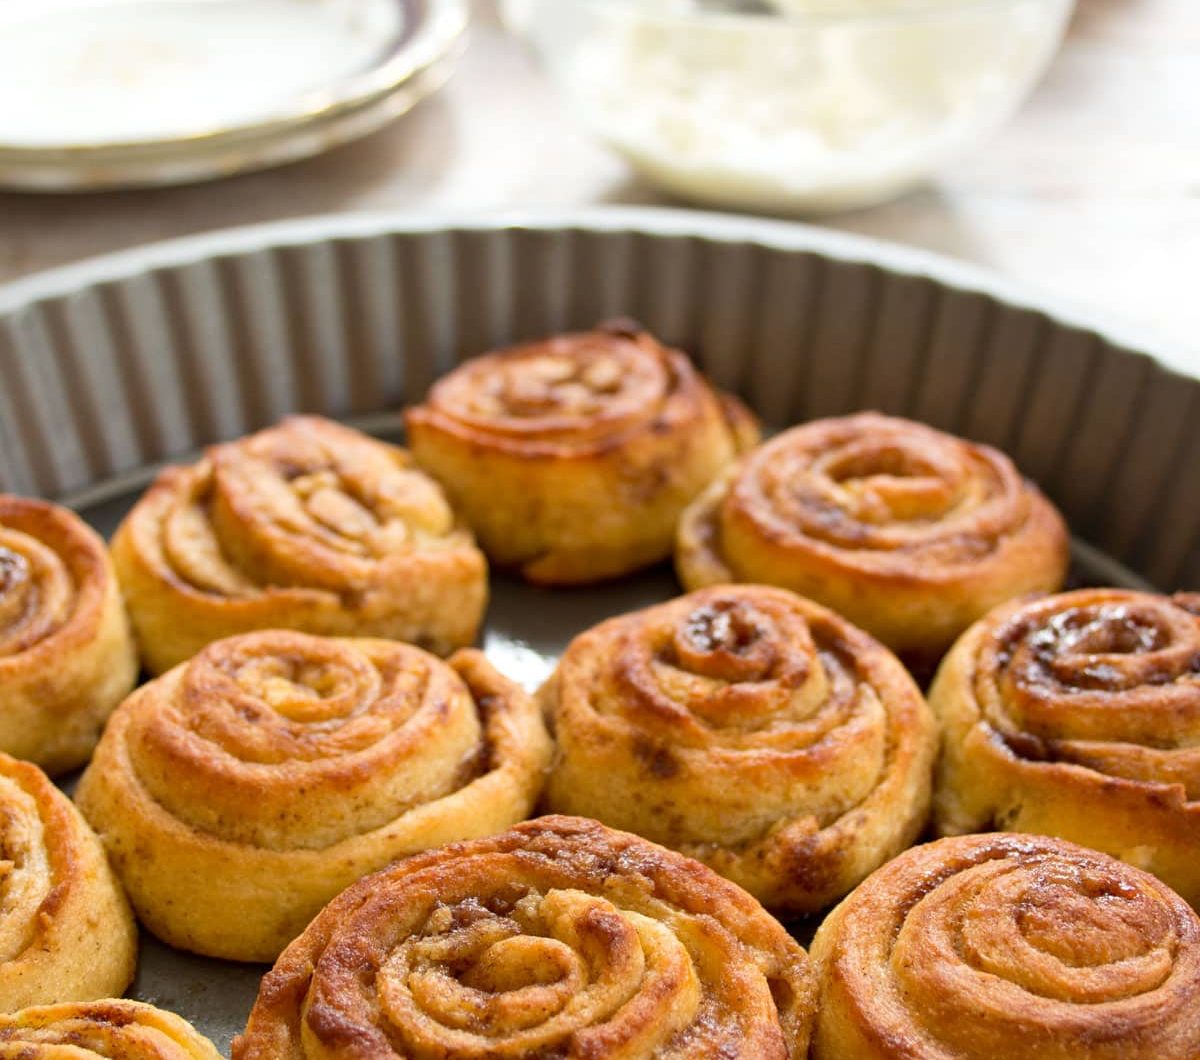
Gluten Free Cinnamon Rolls
These Gluten Free Cinnamon Rolls are soft, fluffy, and filled with a rich cinnamon sugar swirl, then topped with a smooth vanilla bean cream cheese icing.
7
servings30
minutes30
minutes60
minutes1
hour30
minutesIngredients
- For the Gluten Free Cinnamon Roll Dough
1 (16-ounce) bag gluten-free bread mix (discard the yeast packet included in the mix)
½ cup granulated sugar
4½ teaspoons instant yeast (or 2 packets)
1½ teaspoons baking powder
½ teaspoon baking soda
1 teaspoon kosher salt
1¼ cups water
½ cup unsalted butter, sliced into tablespoon-sized pieces
1 teaspoon apple cider vinegar
1 large egg
1 egg white
Cornstarch, for dusting the work surface
- For the Cinnamon Sugar Filling
6 tablespoons unsalted butter, softened until easily spreadable
½ cup packed light brown sugar
2 tablespoons ground cinnamon
- For the Vanilla Bean Cream Cheese Icing
¼ cup unsalted butter, softened
4 ounces cream cheese, softened
1½ cups powdered sugar
1 teaspoon vanilla bean paste (or vanilla extract)
Directions
- Prepare the Dry Ingredients
Place the gluten-free bread mix into the bowl of a stand mixer fitted with the dough hook attachment. Discard the yeast packet included with the bread mix. Add the granulated sugar, instant yeast, baking powder, baking soda, and kosher salt. Mix on low speed for about one minute until evenly combined. - Warm the Liquid Ingredients
In a microwave-safe measuring jug, combine the water, sliced butter, and apple cider vinegar. Heat until the mixture is warm to the touch but not hot. The butter does not need to melt completely. Warm liquid helps activate the yeast without damaging it. - Mix the Dough
With the mixer running on medium speed, slowly pour the warm liquid into the dry ingredients. Scrape down the sides of the bowl if necessary. Add the whole egg and egg white, then continue mixing on medium-high speed for approximately five minutes until the dough becomes smooth and slightly stretchy. - Rest the Dough
Allow the dough to rest for about ten minutes. During this time, prepare a large sheet of plastic wrap on your work surface and dust it generously with cornstarch. - Roll Out the Dough
Transfer the dough onto the prepared surface and dust the top with additional cornstarch. Roll or gently press the dough into a rectangle measuring approximately 13 × 19 inches, keeping the edges as even as possible. - Add the Filling
Spread the softened butter evenly across the dough. Sprinkle the brown sugar over the butter and gently press it into place. Finish by distributing the ground cinnamon evenly across the entire surface. - Roll and Slice
Starting from one long edge, roll the dough tightly into a log. Brush away any excess cornstarch from the outside. Trim a small portion from each end, then cut the remaining log into 7 equal cinnamon rolls using unflavored dental floss or a sharp knife. - Arrange the Rolls
Line a 10-inch cast iron skillet with crumpled parchment paper. Arrange one roll in the center and the remaining six rolls around it, leaving approximately one inch of space between each roll. - Let the Dough Rise
Preheat the oven to its lowest temperature, then switch it off. Place the skillet inside the warm oven and allow the cinnamon rolls to rise for 45–60 minutes, or until they have doubled in size. - Bake
Remove the skillet from the oven and preheat the oven to 350°F (175°C). Bake the cinnamon rolls for 25–30 minutes, or until the tops are golden brown and the rolls spring back gently when touched. - Prepare the Cream Cheese Icing
While the cinnamon rolls are cooling slightly, combine the softened butter and cream cheese in a mixing bowl until smooth. Gradually add the powdered sugar, mixing well after each addition. Stir in the vanilla bean paste until the icing is smooth and creamy. - Ice and Serve
Spread the vanilla bean cream cheese icing generously over the warm cinnamon rolls. Allow the icing to melt slightly into the swirls before serving. Enjoy while warm for the best flavor and texture.