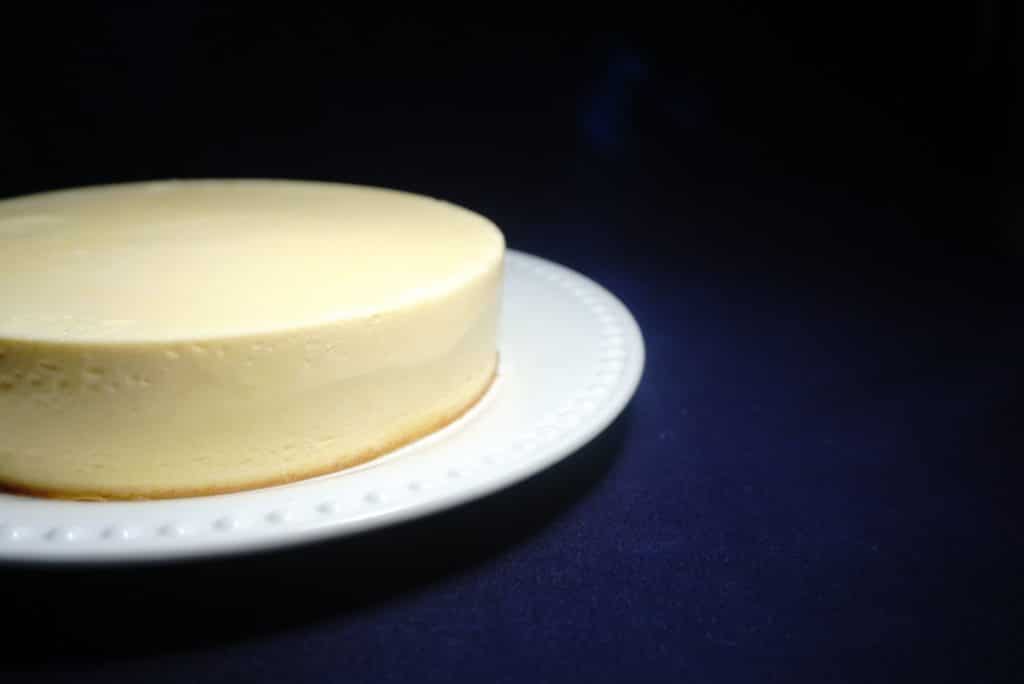
Why I Love This Recipe:
This cheesecake recipe is a simple yet decadent way to satisfy your sweet cravings while keeping it low-carb or sugar-free. I love how easy it is to make, and it results in a smooth, creamy texture every time. The addition of stevia or almond extract gives it a special touch, while the use of gelatin ensures the cheesecake firms up perfectly. Plus, it’s versatile! You can enjoy it as-is or get creative with your toppings, like whipped cream or a sprinkle of cinnamon. This cheesecake feels indulgent, yet it’s a great option for those watching their sugar intake, making it a win-win for any occasion!
Ingredients:
- 12 ounces cream cheese, room temperature
- 2 whole eggs, room temperature
- 4 egg yolks, room temperature
- 1 tablespoon butter, room temperature
- 1 teaspoon vanilla extract
- ½ teaspoon almond extract (optional, but recommended for extra flavor)
- ½ teaspoon gelatin
- Stevia to taste (optional, depending on your sweetness preference)
- Pinch of salt
Instructions:
- Prepare the Ingredients:
- Ensure all ingredients are at room temperature before starting. This will help the mixture combine smoothly and evenly.
- Preheat the Oven:
- Preheat your oven to 300°F (150°C).
- Mix the Ingredients:
- In a large mixing bowl or using a stand mixer, combine the cream cheese, eggs, egg yolks, butter, vanilla extract, almond extract (if using), gelatin, stevia (if using), and a pinch of salt.
- Use a hand mixer or stand mixer to whisk all the ingredients together until the mixture is smooth and fully combined.
- Prepare the Pan:
- Place a 6-inch round silicone baking pan into a larger metal round pan (8 or 9-inch works well). If you don’t have a silicone pan, you can use another 6-inch pan that’s well-greased or lined with parchment paper.
- Add the Cheesecake Mixture:
- Pour the cheesecake batter into the 6-inch round pan. Use a spatula to smooth the top for an even finish.
- Add Boiling Water:
- Carefully pour boiling water into the outer pan (around the silicone pan) to create a water bath. This helps prevent the sides of the cheesecake from burning or overcooking during baking.
- Bake the Cheesecake:
- Place the pan in the preheated oven and bake for 40 minutes.
- After 40 minutes, turn the oven off, and let the cheesecake continue to cook in the residual heat for an additional 20 minutes.
- Cool and Chill:
- After the cheesecake has finished cooking, remove it from the oven and allow it to cool to room temperature.
- Once cooled, transfer the cheesecake to the fridge and let it chill for at least 6 hours, or overnight, to firm up before slicing.
- Serve:
- When ready to serve, top your cheesecake with a dollop of whipped cream or a sprinkle of cinnamon for added flavor, if desired. Enjoy!
Tips & Tricks:
- Room Temperature Ingredients: Ensuring that all ingredients (cream cheese, eggs, butter) are at room temperature is key to achieving a smooth, lump-free batter.
- Water Bath: The water bath is essential for preventing the cheesecake from cracking and ensuring it cooks evenly. Be careful when pouring the boiling water to avoid splashing or burning yourself.
- Sweeteners: If you’re using stevia to sweeten the cheesecake, be sure to adjust to your taste. Start with a small amount and taste the batter to make sure it’s sweet enough for you.
- Gelatin: The gelatin helps the cheesecake firm up without using traditional flour or cornstarch. It’s important to allow the cheesecake to chill long enough for the gelatin to set fully.
Notes:
- Flavor Variations: You can easily customize this cheesecake by adding different extracts or flavorings. Try adding lemon zest for a citrusy twist, or cocoa powder for a chocolate flavor. The options are endless!
- Crustless Option: This cheesecake is crustless, which keeps it gluten-free and reduces the preparation time. However, if you prefer a crust, you can make a simple almond flour crust to complement the creamy filling.
FAQs:
Can I make this cheesecake ahead of time?
Yes! In fact, this cheesecake needs several hours in the fridge to firm up properly, so it’s perfect for making ahead of time. You can prepare it a day or two in advance and store it in the fridge.
What if I don’t have gelatin?
If you don’t have gelatin, you can try using agar-agar, which is a plant-based alternative. However, be sure to check the package instructions for the proper conversion.
Can I use a different sweetener besides stevia?
Absolutely! You can substitute stevia with your preferred sweetener, whether that’s monk fruit sweetener, erythritol, or another sugar substitute. Just make sure to adjust the amount based on the sweetness level of the sweetener you choose.
Storage:
- Refrigeration: Store any leftover cheesecake in an airtight container in the fridge for up to 5 days.
- Freezing: You can also freeze this cheesecake for up to 3 months. To freeze, cover it tightly in plastic wrap and then foil. When ready to enjoy, let it thaw in the fridge for several hours.
This cheesecake is a great option for anyone looking for a low-carb, sugar-free dessert that doesn’t sacrifice flavor or texture. It’s creamy, rich, and full of flavor – and I love how versatile it is, allowing you to play around with different toppings and flavorings to make it your own. Whether you’re serving it at a special occasion or simply enjoying a sweet treat, this recipe will leave you satisfied every time
