Why I Love This Recipe
This sourdough millet bread is a game-changer for gluten-free bread lovers. It’s tender, flavorful, and has the perfect balance of crusty exterior and soft, chewy interior. Made with a combination of sorghum, millet, and tapioca flour, it has a naturally nutty taste, and the use of a preferment with a bubbly starter gives it that deep, traditional sourdough flavor. Plus, the addition of psyllium husk ensures a wonderful texture that won’t crumble like other gluten-free loaves. It’s the perfect bread for sandwiches, toast, or simply enjoying with a spread.
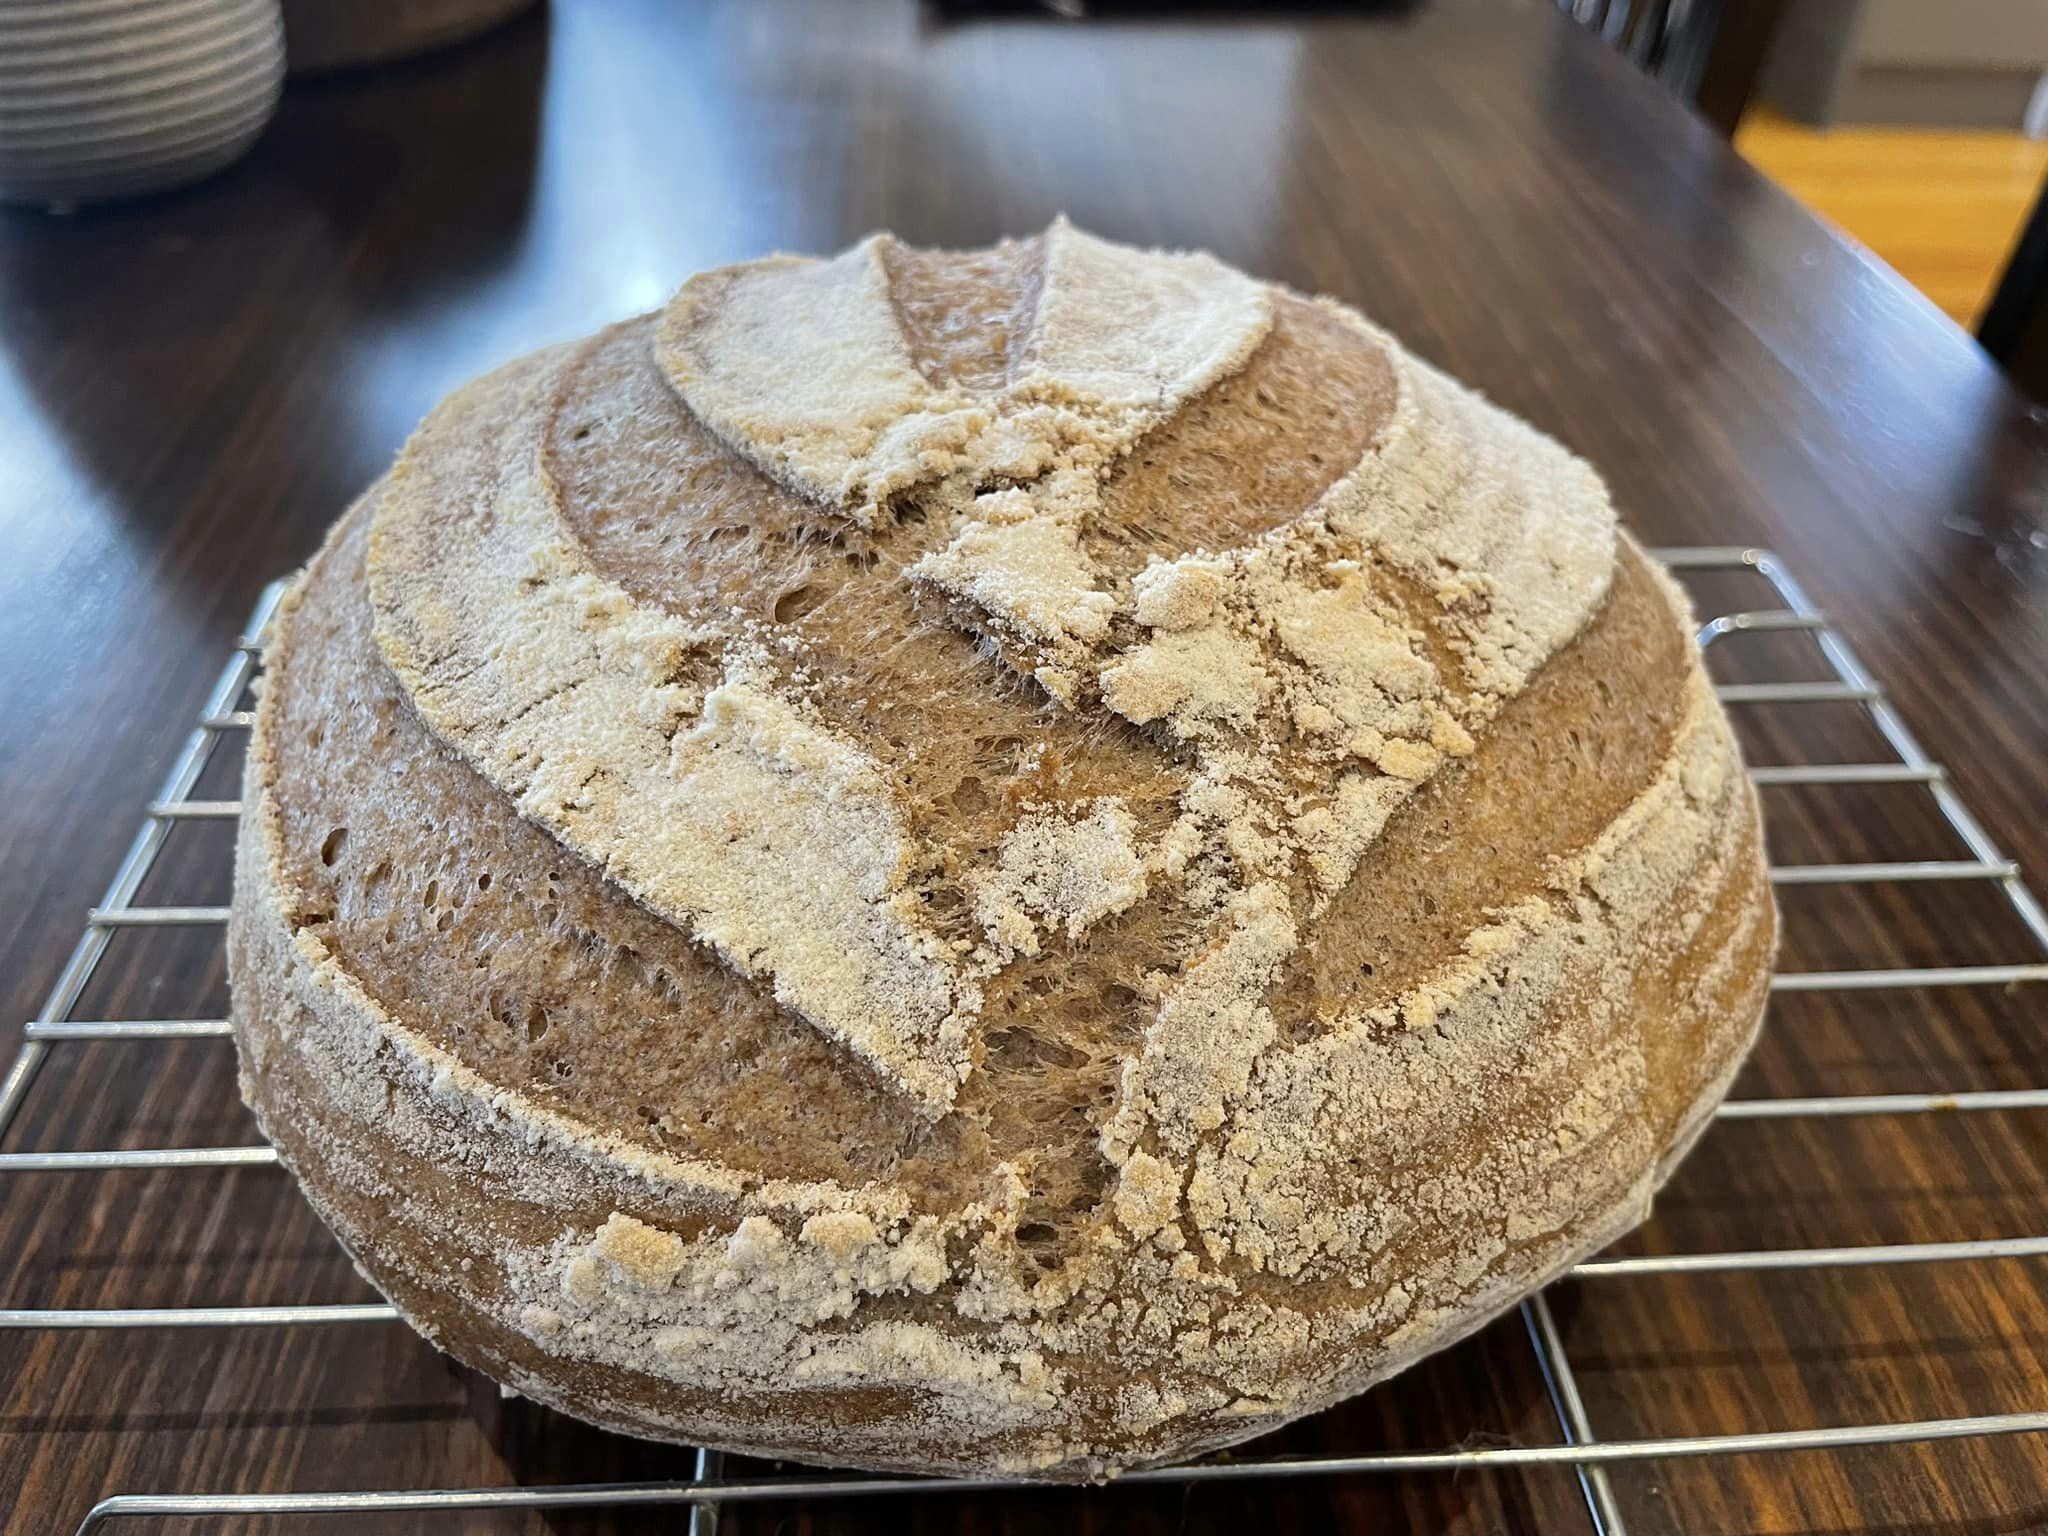
Sourdough Millet Bread (Gluten-Free)
A delicious, hearty, and naturally fermented gluten-free sourdough bread made with millet, sorghum, and tapioca flour. Perfect for those avoiding gluten but craving the familiar taste and texture of traditional bread.
- Prep Time: 45 minutes
- Cook Time: 1 hour 20 minutes
- Proofing Time: 2 hours (can also proof overnight)
- Servings: 1 loaf
Equipment
- Large glass or plastic mixing bowls
- Boule-shaped Banneton (bread shaping basket) or a bowl with a clean tea towel
- Lame (scoring blade) or sharp knife
- Dutch oven, baking stone, baking cloche, or Pullman pan
Ingredients
For the Preferment:
- 130g active, thick, and bubbly starter (see notes for link on how to prepare your starter)
- 100g sorghum flour or millet flour
- 100g water
For the Loaf:
- 100g millet flour
- 50g sorghum flour
- 100g tapioca flour
- 100g potato starch
- 2-2 1/4 teaspoons fine salt (11-13g)
- 1/4 teaspoon ginger powder
- 1/4 teaspoon vitamin C powder (or substitute with apple cider vinegar)
- 25g psyllium husk (not psyllium husk powder)
- 400g water
- 1 tablespoon olive oil (optional, makes for a softer crust)
Instructions
Step 1: Prepare the Preferment
- Ensure your starter has been fed a few hours before and is at its peak rise. It should be bubbly with a domed top.
- Mix the starter with water and add the sorghum or millet flour to create the preferment. Stir to combine.
- Cover with cling film or a wrap, and place in a warm, draft-free location overnight. The preferment will have started to fall but will still be watery with popped bubbles. If it has no bubbles and no sour smell, discard and start again.
Step 2: Make the Loaf
- In a small mixing bowl, combine psyllium husk with water and apple cider vinegar (if using). Whisk to combine and leave it for 5-10 minutes to form a gel.
- In a large bowl, mix the millet flour, sorghum flour, tapioca flour, potato starch, ginger powder, salt, and vitamin C powder (if using).
- Once the psyllium gel has thickened, whisk it into the preferment along with the olive oil (if using).
- Add the wet mixture to the dry ingredients and stir to combine. The dough will appear scraggly, but continue kneading with your hands until a smooth ball of dough forms. You can use a stand mixer with a dough hook if preferred.
Step 3: Shape the Dough
- Once the dough is fully hydrated and smooth, place it on a lightly floured surface. Shape it into a loaf. For a guide on shaping, see the linked video in the notes.
- Lightly flour your Banneton or bowl with white rice flour. Place the shaped dough into the Banneton, with the smooth side facing down (the side with no seams facing up).
- Cover the loaf with an airtight cover (like a shower cap or cling film) and place it in a plastic bag. Leave it to proof in a warm place or in the fridge overnight for a slower proof. Proofing on the counter will take 3-6 hours, depending on the temperature and the dough’s rise.
Step 4: Bake the Loaf
- Preheat your oven to 300-350C/572-662F about 30 minutes before baking. If using a Dutch oven, make sure it is preheated.
- Check if the dough is proofed by gently poking it—when the indent bounces back partially but not completely, it’s ready to bake.
- Carefully invert the dough onto a damp bench and score the top using a lame or sharp knife. Make a deep incision, or choose a simple pattern.
- Remove the hot Dutch oven from the oven (be cautious of the heat) and place the dough inside, quickly closing the lid to trap steam.
- For a lighter crust, lower the oven temperature to 220C/428F and bake for 1 hour. For a darker crust, keep the temperature at 300C/572F for 30 minutes, then reduce to 220C/428F for the remaining 30 minutes.
- Once the lid is removed, bake for an additional 20 minutes or until the bread sounds hollow when tapped on the bottom.
- Let the bread cool on a cooling rack for at least 3-4 hours (ideally overnight) before slicing.
Tips & Tricks
- Starter Tip: Ensure your starter is at peak activity before starting this recipe. If it’s not bubbly and risen, the dough won’t rise as well.
- Proofing Tip: The dough may take longer to proof in cooler temperatures, and in warmer environments, it may proof faster. Adjust proofing times accordingly.
- Shaping Tip: When shaping the dough, work quickly to avoid deflating it. Don’t overwork the dough.
- Scoring Tip: A sharp knife or lame is essential for scoring the dough—this helps it rise properly in the oven and creates a beautiful, even loaf.
Notes
- Substitutes: If you can’t find Vitamin C powder, use a splash of apple cider vinegar in the psyllium gel. The Vitamin C helps activate the flours and enhance the bread’s texture.
- Texture Tip: The psyllium husk gives the dough a much-needed texture to hold together. Make sure to use husk, not powder, for the right consistency.
- Sourdough Starter: Your starter should be fed a few hours before use. If it’s not at its peak, the dough will not rise properly.
FAQs
1. Can I make this bread with other gluten-free flours?
Yes! You can substitute other gluten-free flours, but keep in mind the texture may change. You might need to experiment with ratios to achieve a similar result.
2. How do I know when my bread is properly proofed?
A properly proofed loaf should bounce back partially when you press it with your finger, but not fully. If it bounces back too quickly, it needs more time.
3. How can I make this recipe faster?
If you’re short on time, you can proof the dough at a warmer temperature, but the slow proofing process (especially overnight) enhances the flavor and texture.
Storage & Freezing
- Room Temperature: Store your cooled loaf in a bread bag or wrapped in a tea towel for up to 3 days at room temperature.
- Freezing: For longer storage, slice the loaf and freeze the slices in an airtight container or freezer bag. To reheat, simply toast the slices or warm them in the oven.
This sourdough millet bread is a beautiful and rewarding project for anyone looking for a gluten-free bread that’s as delicious as it is satisfying. The perfect texture, flavor, and versatility make it a must-try
