Creating your own vanilla extract is an easy and rewarding project that requires just two main ingredients: high-quality vanilla beans and alcohol. This homemade version delivers a rich, authentic flavor that elevates your baking and cooking. It’s also an economical alternative to store-bought options and allows room for creativity, such as experimenting with vanilla sugar for an extra touch.
Ingredients and Equipment
Key Ingredients
- Vanilla Beans: The star of this recipe. Select premium-quality beans for the best flavor.
- Alcohol: Vodka is the most common choice, but bourbon, rum, or brandy work well for unique flavor profiles.
Equipment Needed
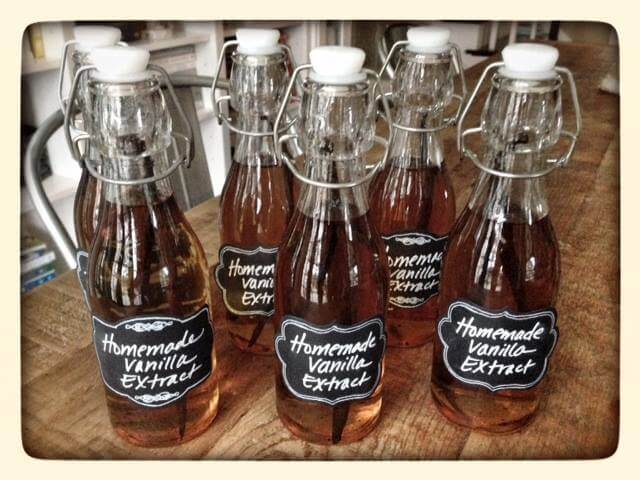
- Glass Bottles or Jars: 8-ounce bottles with tight seals, such as swing-top bottles, are ideal for storing and gifting.
- Funnel: Optional but helpful for clean, spill-free pouring.
Choosing the Best Vanilla Beans
The type of vanilla bean you choose determines the flavor profile of your extract. Here are some popular options:
- Madagascar Vanilla Beans: Rich and creamy, perfect for classic recipes.
- Tahitian Vanilla Beans: Floral and fruity, offering a unique twist.
- Mexican Vanilla Beans: Smooth and bold, with a deep, robust flavor.
Selecting Your Alcohol Base
Vodka is preferred for its neutral taste, but feel free to experiment:
- Bourbon: Adds warm, caramel notes.
- Rum: Brings a hint of sweetness.
- Brandy: Introduces a subtle fruitiness.
Opt for affordable alcohol since the vanilla beans provide the primary flavor. Avoid flavored vodkas, as additives can compromise the extract’s quality.
How to Make Vanilla Extract
1. Prepare the Vanilla Beans:
- Use a sharp knife to slit each vanilla bean lengthwise, exposing the seeds inside.
- If your beans are too long for the bottle, cut them into smaller pieces.
2. Combine Ingredients:
- Place the prepared vanilla beans into your glass bottle or jar.
- Using a funnel, pour alcohol over the beans until fully submerged. This prevents mold and ensures proper extraction.
3. Seal and Store:
- Secure the bottle tightly and store it at room temperature, away from direct sunlight.
- Shake the bottle weekly to evenly distribute flavors.
- While you can use the extract after 8 weeks, allowing it to infuse for 6 to 12 months yields a deeper, richer flavor.
Maintaining Your Vanilla Extract
- Topping Off: As you use the extract, add more alcohol to keep the beans submerged. Shake the bottle after refilling.
- Removing Beans: If gifting or if the alcohol supply runs out, remove the beans after the first use to prevent sliminess.
Long-Term Storage and Shelf Life
- Aged Extract: Properly aged vanilla extract with submerged beans can last several years.
- Bean Removal: Once beans are removed, the extract has an indefinite shelf life, though the flavor may fade over time.
- Refreshing the Extract: If the flavor weakens after a year of regular use, add fresh beans to restore its potency.
Why Make Homemade Vanilla Extract?
Homemade vanilla extract not only surpasses store-bought versions in flavor but also adds a personal touch to your kitchen. Perfect for gifting or indulging in your culinary adventures, this extract brings an aromatic richness to your recipes while showcasing the rewards of DIY. Start your batch today and enjoy the transformation as it matures into a true kitchen treasure!
